Adding conferences
In addition to marketing and informing the FirstView Manager can be used as a reservation system for your conference rooms by using the conference and guiding tools.
The conference reservations can be accessed from the left part of the FirstView Manager by clicking the Conferences tab.
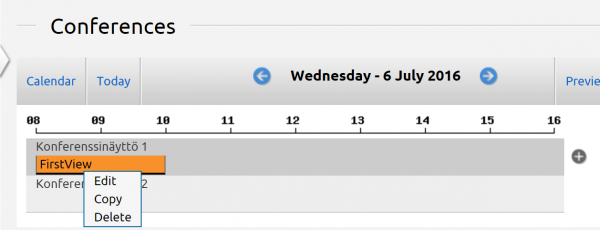
From the Conferences tab you can see the daily view of the conference premises (for ex. conference rooms 1, 2 and 3). You can move between days by using the arrow buttons in the upper-left bar or the calendar button in the upper-left corner (see the picture).
The conference list button shows an overview of all conference reservations. You can easily modify the reservation of your choice by accessing the conference list (see the picture).
In the Conferences tab every conference room can be seen in its own row beneath the line depicting the time of the day. The name of the person who has reserved the conference room can be seen on the horizontal bar depicting the reservation.
A new reservation for a conference room can be added by moving the cursor on the desired room and clicking the plus sign that pops up on the right side of the row. When the plus sign is clicked a new window will open. There you can add a new reservation.
Adding a conference:
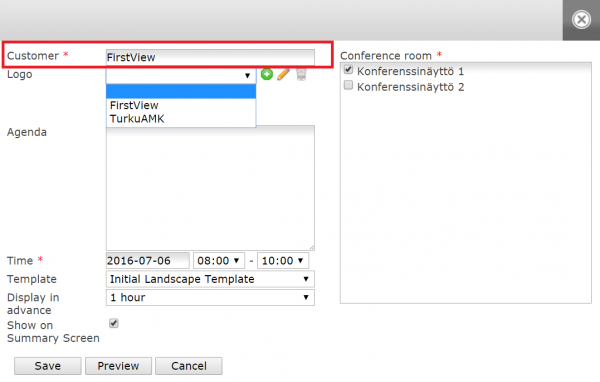
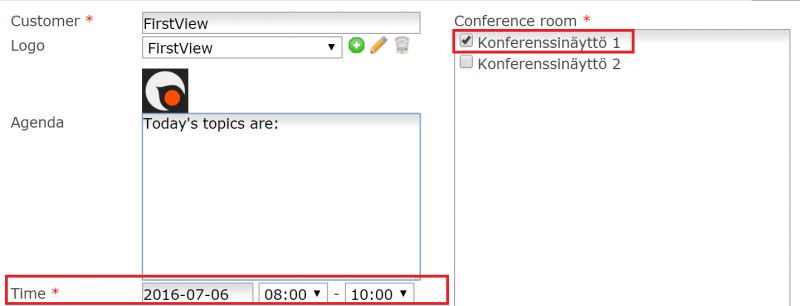
The name of the customer is typed to the ”Customer” section.
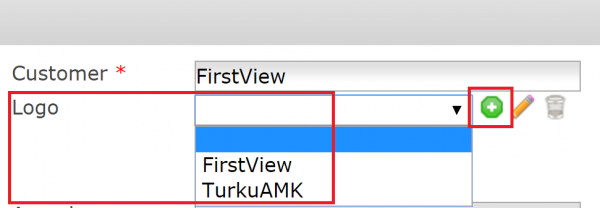
After naming the client a logo can be added. If the client already has a logo added to the system, it can be found from the Logo dropdown list.
If a new client is in question, the green plus sign on the right side of the Logo text has to be clicked.
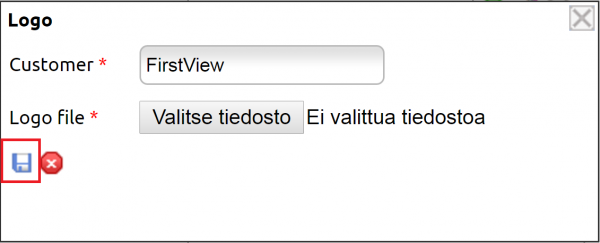
A new window will open. There you can search the computer’s hard drive for a logo picture. Name the client, choose the file and click Save (the diskette icon).
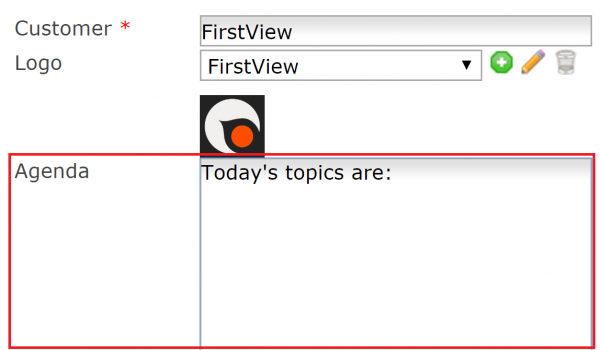
The conference’s agenda can be written to the Agenda section if you want it to show on the conference display (for example time table, topic, guest names etc.)
A date, starting time and ending time will be set to the conferences.
Be sure to also choose in which conference room(s) the conference will be held.
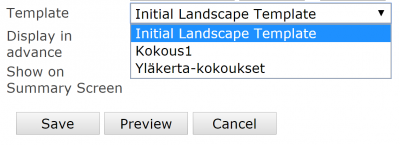
Choose a template for the possible conference displays.
You can order more templates from FirstView’s technical support according to the existing pricing.
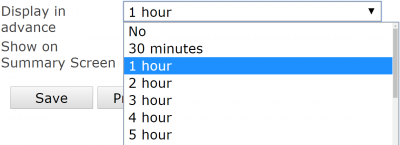
From the dropdown list, choose how long the information regarding the conference will be shown on conference displays before the beginning of the conference (display in advance).
The information concerning the event in progress and the following event happening in the same conference room will be shown in turns.
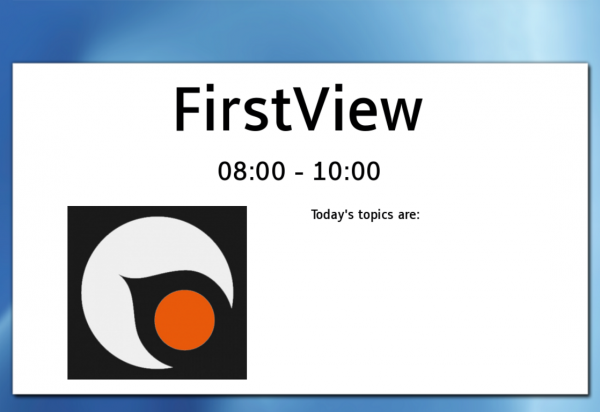
You can preview the conference display by clicking Overview.
The presentation is sent to the displays by clicking Save. Saving can take a moment depending on the amount of conference rooms and events. If you want the conference to be shown on the summary screen (for ex. in a lobby) choose “show on summary screen”.
After adding a conference, it can be seen as a bar depicting its duration on the corresponding conference room. The information regarding the conference can be modified, copied to a different time and removed by clicking the conference’s timeline and choosing the desired action from the small window that opens.
By clicking the Preview button from the upper right corner of the view it is possible to see the summary screen’s (lobby display) real-time preview picture. From the window that opens after menu selection the desired summary screen is chosen. The preview picture opens to a new browser window.
The picture on the summary screen (display) is formed automatically based on the reservations. The system also updates the information regarding the following day’s summary screen during the previous night. After the conference reservation has ended the reservation will be deleted from the conference displays and the summary screen automatically. NOTE! Sometimes it takes 15 minutes for the reservations to disappear from the summary screen.
In addition to the conference reservations, other material can be normally presented (“add content” from the Overview page). Presentations made with the Conference tool are automatically prioritized as “normal”. When conference reservations are active, other presentations will be shown on the displays in turns with the conference reservations if their priority is set to normal, or override the conference reservations if their priority is set to high. Choose the "background" priority for other presentations if you want them to show only when there are no conference reservations.
Conference reservations cannot be modified or deleted in the Overview page. That has to be done in the Conferences tab.


